
If you are looking for a cheap and easy way to house your chickens, you might want to consider building a pallet chicken coop. Not only are they great for people on a budget but the materials are also readily available and easy to source. We have put together a beginners guide on building a simple pallet chicken coop.
Pallets are wooden platforms that are used for shipping and storing goods. They are often discarded or sold for a low price, making them a great source of recycled wood. Pallets are a very versatile product for building simple structures and you can use pallets to create a sturdy and functional chicken coop with minimal tools and skills.
In this article, I will give you an overview on how to build a pallet chicken coop in a few easy steps. I will also include five different designs with links to photos or videos, provide the approximate cost of building a pallet chicken coop and list what materials are required. Feel free to jump ahead to the following sections if you don’t want to read the whole article.
Steps for building a pallet chicken coop
Approximate Cost of Building a Pallet Chicken Coop
Steps for Building a Pallet Chicken Coop
Step 1: Gather the Materials
The first step is to gather the materials you will need for your pallet chicken coop. Depending on the size and design of your coop, you may need more or less materials, but here is a general list of what you will need:
- Pallets: You will need at least four pallets for the base and walls of your coop. You can find pallets at local warehouses, factories, or stores that may give them away for free or sell them for a low price. You can also look online for people who are giving away or selling pallets near you. Make sure the pallets are in good condition and not treated with harmful chemicals.
- Wood: You will need some extra wood to reinforce the pallets and create the roof, door, and nesting boxes of your coop. You can use scrap wood, reclaimed wood, or buy new wood from a hardware store. You will need 2x4s, 1x4s, plywood, and shingles for the roof.
- Hardware: You will need some hardware to assemble your coop and secure it from predators. You will need screws, nails, hinges, latches, chicken wire, staples, and tar paper. You will also need some tools such as a hammer, drill, saw, screwdriver, staple gun, tape measure, level, and pencil.
- Optional: You may also want to add some optional features to your coop such as a window, a ramp, a roosting bar, a feeder, a waterer, and a paint or stain. Read our article for the Best Paint or Stain for Chicken Coops here.
Step 2: Prepare the Site
The next step is to prepare the site where you want to place your coop. You will need to clear the area of any debris, rocks, or plants that may interfere with the construction or ventilation of your coop. You will also need to level the ground and make sure it is well-drained. You may want to lay down some gravel or sand to prevent mud and moisture from accumulating under your coop.
You will also need to consider the orientation and location of your coop. You will want to place your coop in a sunny spot that is protected from strong winds and predators. You will also want to face your coop south or east so that it gets enough natural light and warmth throughout the day.
Step 3: Build the Base
The third step is to build the base of your coop using two pallets. You will need to measure and cut the pallets to fit the size of your coop. You can use a saw or a circular saw to cut the pallets along the slats or between the blocks. You will also need to remove any nails or staples that may stick out from the pallets.
You will then need to attach the two pallets together using screws or nails. You can use 2x4s or 1x4s as braces to reinforce the joints and corners of the base. You will also need to cover the gaps between the slats with plywood or other wood pieces to create a solid floor for your coop.
You can then raise the base off the ground using cinder blocks, bricks, or wooden legs. This will help prevent moisture and pests from getting under your coop. You can also add some insulation under the floor such as straw, hay, or Styrofoam to keep your chickens warm in winter.
Step 4: Build the Walls
The fourth step is to build the walls of your coop using two more pallets. You will need to measure and cut the pallets to fit the height and width of your coop. You can use a saw or a circular saw to cut the pallets along the slats or between the blocks. You will also need to remove any nails or staples that may stick out from the pallets.
You will then need to attach the pallets to the base using screws or nails. You can use 2x4s or 1x4s as braces to reinforce the joints and corners of the walls. You will also need to cover the gaps between the slats with plywood or other wood pieces to create solid walls for your coop.
You can then add some features to your walls such as a door, a window, or a nesting box. You can use plywood or other wood pieces to create the frames and doors for these features. You can also use hinges and latches to make them open and close. You can also use chicken wire to cover the window or the nesting box to prevent predators from getting in.
Step 5: Build the Roof
The fifth step is to build the roof of your coop using plywood and shingles. You will need to measure and cut the plywood to fit the size and shape of your coop. You can use a saw or a circular saw to cut the plywood. You will also need to cut some angles or notches to fit the roof over the walls.
You will then need to attach the plywood to the walls using screws or nails. You can use 2x4s or 1x4s as braces to reinforce the joints and corners of the roof. You will also need to cover the gaps between the plywood pieces with tar paper to create a waterproof layer for your roof.
You can then add some shingles to your roof using nails or staples. You can use cedar shakes, asphalt shingles, or metal roofing for your shingles. You will need to start from the bottom and work your way up, overlapping each row of shingles by a few inches. You will also need to cut some shingles to fit the edges and corners of your roof.
Step 6: Finish the Coop
The final step is to finish your coop by adding some details and decorations. You can paint or stain your coop with a color of your choice (read our article on the best paint or stain here) You can also add some signs, stickers, or ornaments to personalize your coop. You can also add some accessories such as a ramp, a roosting bar, a feeder, a waterer and bedding material for your chickens.
You can then introduce your chickens to their new home and enjoy their fresh eggs every day.

Five Different Designs
If you are looking for some inspiration or variation for your pallet chicken coop, here are five different designs with links to photos or videos that you can check out. A large range of simple to build chicken coop plans which can house anywhere from 1 to 40 chickens are also available at www.chickencoopplan.com and www.buildingachickencoop.com
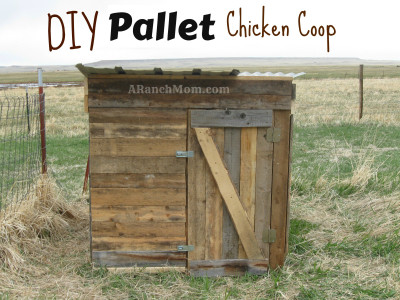
- Pallet Chicken Coop with Shingles: This design uses eight pallets, cedar shakes, tar paper, and chicken wire to create a simple but weather-resistant coop.

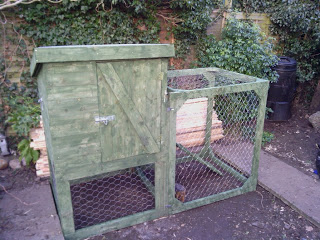
- Critter Proof: This design uses three pallets, reclaimed boards, plastic clear roofing, and chicken wire to create a cozy and spacious coop.
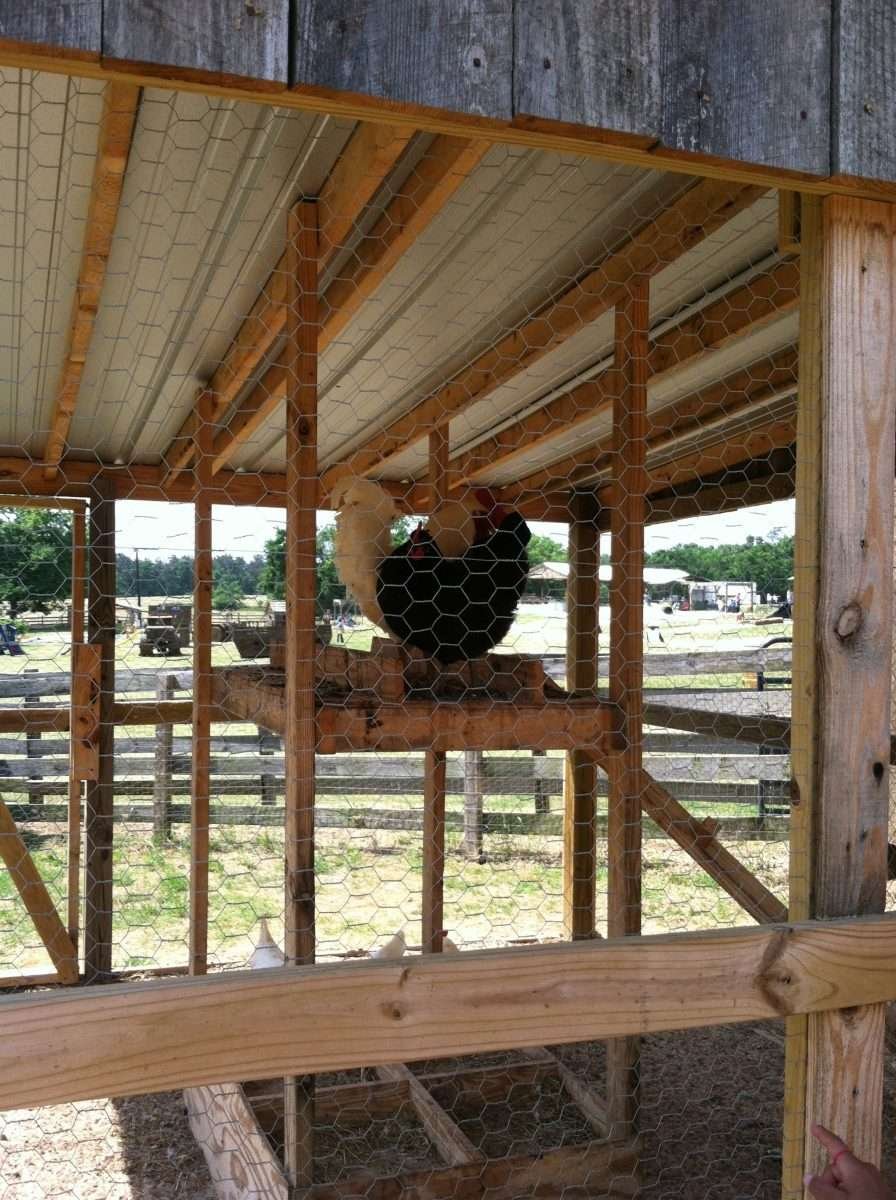
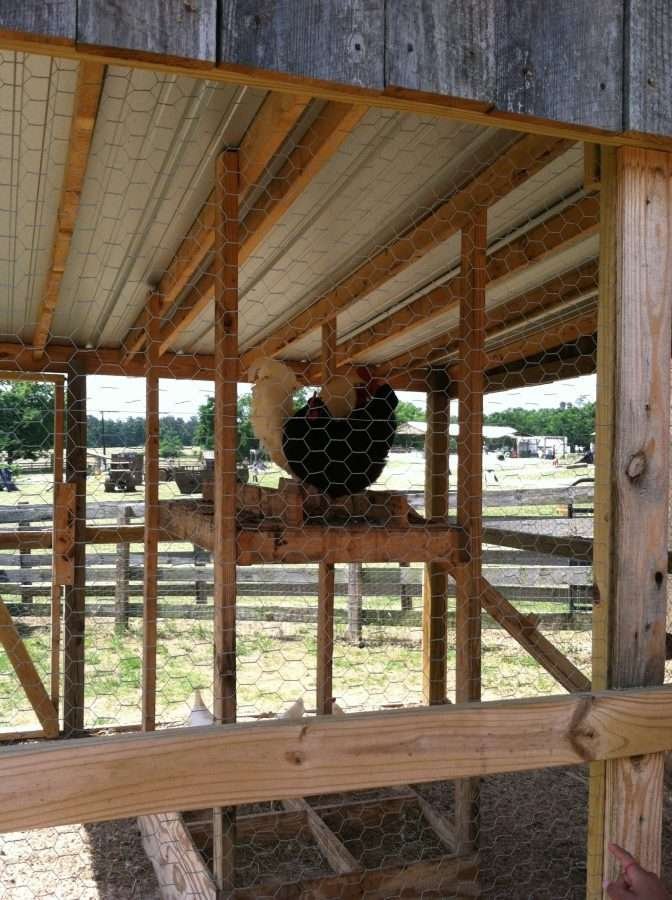
- Summers Acres Pallet Chicken Coop: This design uses four pallets, plywood, metal roofing, and chicken wire to create a walk-in shed style coop.

- A Frame Pallet Chicken Coop: This design uses six pallets, plywood, corrugated plastic roofing, and chicken wire to create an A-frame style coop.

- Easy Pallet Ideas Pallet Chicken Coop: This design uses four pallets, plywood, metal roofing, and chicken wire to create a fenced enclosure style coop.
Approximate Cost of Building a Pallet Chicken Coop
The cost of building a pallet chicken coop will depend on the size and design of your coop, as well as the materials you use and where you get them from. However, here is an approximate breakdown of the cost of building a basic pallet chicken coop that can house four chickens:
- Pallets: $0-$20 (free if you find them or low price if you buy them)
- Wood: $20-$40 (scrap wood, reclaimed wood, or new wood from a hardware store)
- Hardware: $10-$20 (screws, nails, hinges, latches, chicken wire, staples, and tar paper)
- Optional: $10-$100 (window, a ramp, a roosting bar, a feeder, a waterer and a paint or stain)
The total cost of building a pallet chicken coop can range from $40-$200 depending on the factors mentioned above. This is much cheaper than buying a ready-made chicken coop that can cost hundreds of dollars!
Materials Required for a Pallet Chicken Coop
The materials required for a pallet chicken coop are:
- Pallets: These are wooden platforms that are used for shipping and storing goods. They are often discarded or sold for a low price. They can be used as the base and walls of your coop.
- Wood: This is any type of wood that you can use to reinforce the pallets and create the roof, door, and nesting boxes of your coop. You can use scrap wood, reclaimed wood, or buy new wood from a hardware store. You will need 2x4s, 1x4s, plywood, and shingles for the roof.
- Hardware: This is any type of metal or plastic material that you can use to assemble your coop and secure it from predators. You will need screws, nails, hinges, latches, chicken wire, staples, and tar paper.
Conclusion
Building a chicken coop from pallets is a cost saving and fun DIY exercise. There are many design available online you can choose from that will suit your own set up. We hope our article has given you a good overview on the process of building a pallet chicken coop at home.
Maybe after reading this you may have decided that DIY may not be for you and you would prefer to buy a ready made chicken coop instead. If that is the case we recommend you read our review article here on the two top plastic coop manufacturers Nestera and Omlet who make high quality and durable plastic modular chicken coops.

Chicken Care Shopping List
Are you looking for a shopping list of everything you need when caring for your precious flock? We have put together an easy reference of items for your convenience.